Holly Square – Free Pattern
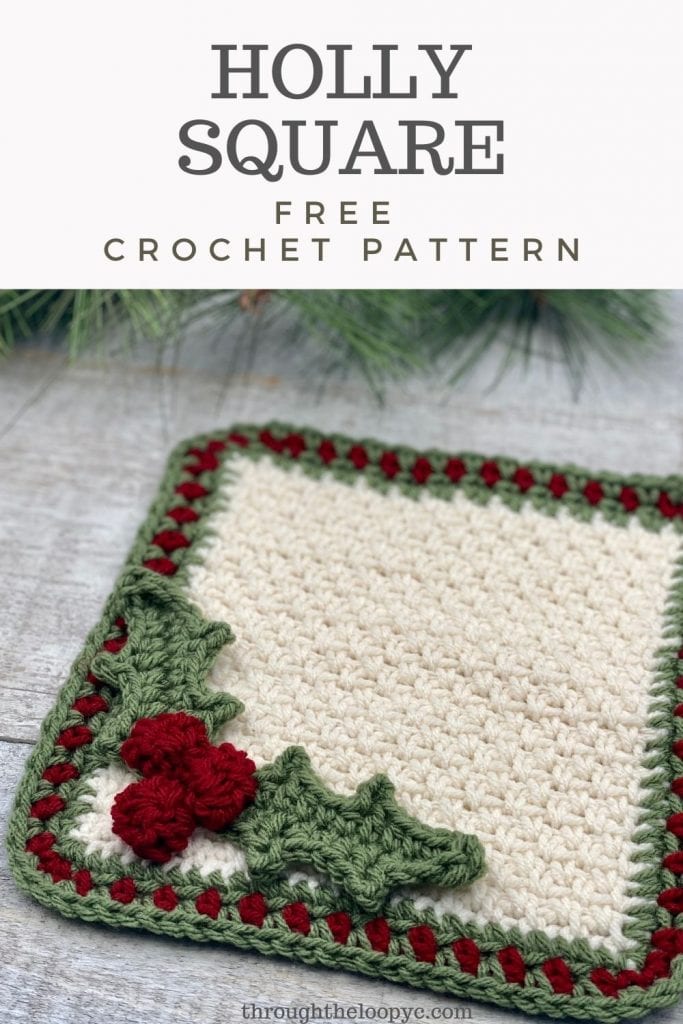
Do you love making squares to put together for blankets?! I hope so! Today I have my very first square pattern to share. The Holly Square!
Another something special about today’s pattern….The Holly Square is TTLYC’s 50th pattern released!!!! WAHOO!!!!!
Save It To Your Favorites
Holly Square Ad-Free Premium PDF Printable
Get your copy of the premium ad-free PDF pattern. The Premium version includes photo stitch tutorial for the Holly!
Rustic Charm
I designed the Holly Square to give a lovely sense of rustic charm. Simple and elegant.
The square is worked as one piece in rows, with a border. The berries and leaves are made separately then sewn on.
The pattern works up quick using the moss stitch as the base of the square, it’s quite easy, so long as you have a grasp of basic stitches.
I’m pretty sure I am going to have to make this bigger too….I’m thinking it will be a gorgeous Holiday pillow!
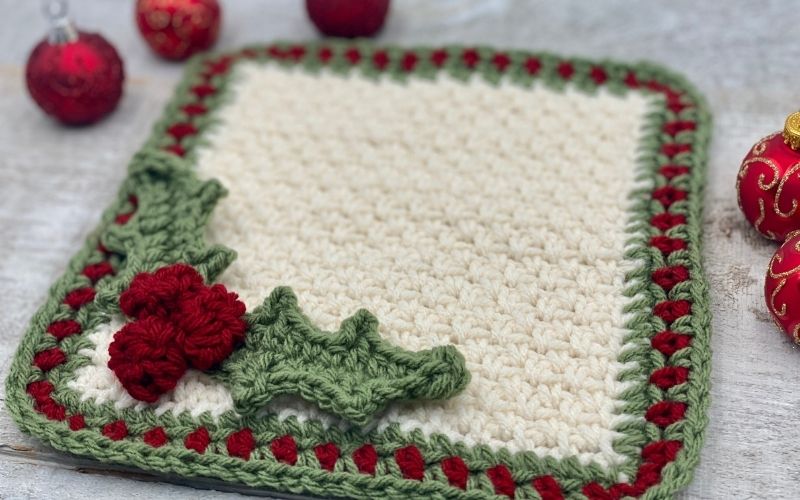
Tester Pic
A special thank you to Faydra from Knottie Hooks for testing/editing this pattern for me.
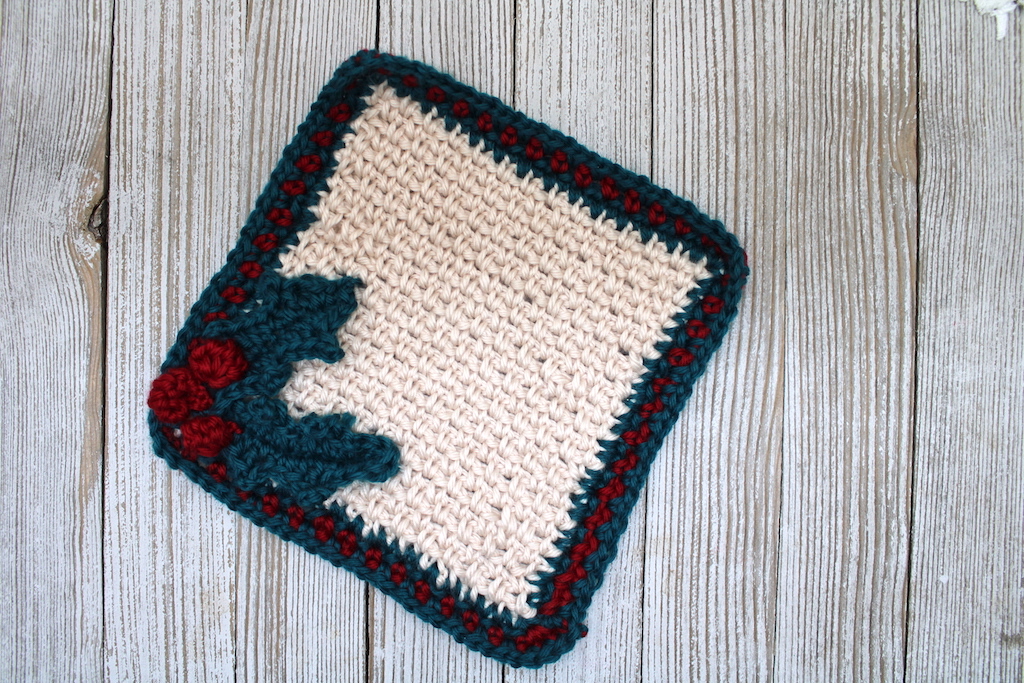
Holly Square Pattern
Materials
- 1 skein each of #4 worsted weight yarn in White, Red and Green. I recommend *Knit Picks Mighty Stitch in Oyster, Love Letter, and Spruce
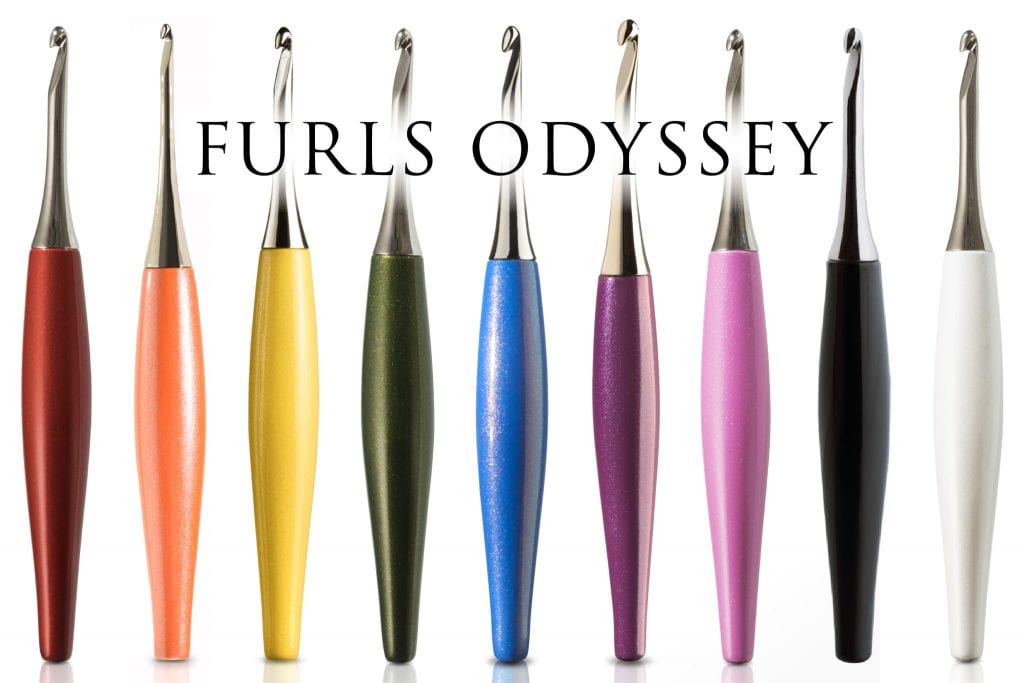
- 4.5mm crochet hook. I used *Furls Odyssey
- *Scissors
- *Yarn needle
A special thank you to WeCrochet for providing the gorgeous Mighty Stitch yarn for this project!
Difficulty
Easy
Gauge
9 stitches x 18 rows = 4″ square Pattern for gauge: sc, ch1
Size
8″ x 8″ square
Stitch Abbreviations
- ch – Chain
- sc – Single Crochet
- hdc – Half Double Crochet
- dc – Double Crochet
- picot – Picot Stitch
- yo – Yarn Over
- st(s) – Stitch(es)
- slst – Slip Stitch
- sk – Skip
- chsp – Chain Space
Pattern Notes
- US Terminology
- All beginning ch2 do not count as a stitch
- Pattern is made in parts then sewn together
- *-* denotes repeat sequence
- To change square size starting ch is number of desired sts + 3
Special Stitches
Picot Stitch: Ch3, insert hook into back bump of first chain made (the one at the bottom, closest to the work), slst to complete.
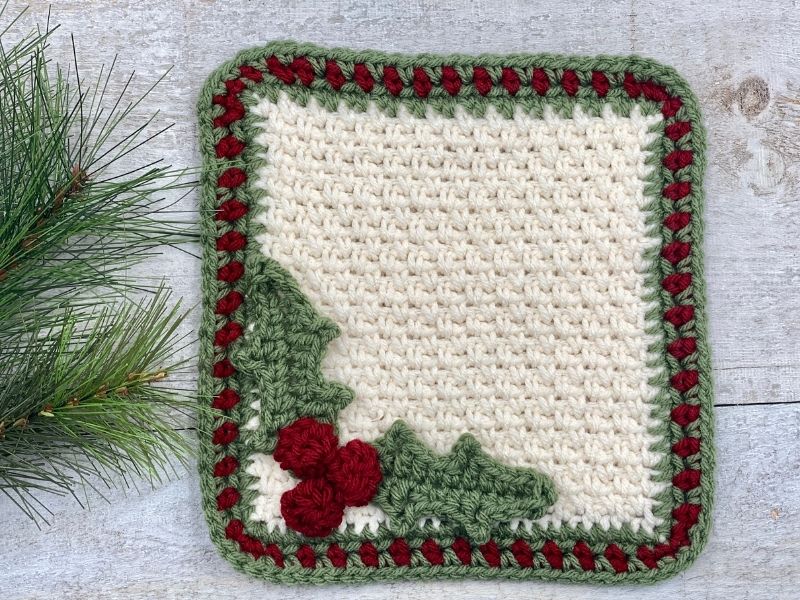
Holly Square
The Pattern
Square
Using Oyster (White)
Ch31
Row 1: Sc in 3rd ch from the hook, *ch1, sk 1 ch , sc in the next ch*, repeat across, ch2, turn (15).
Row 2: Sc in the first chsp, *ch1, sc in the next chsp*, repeat across, ch2, turn (15).
Row 3 – 32: Repeat row 2.
Tie off.
Border
Using Spruce (Green)
Rnd 1: Sc around evenly around the square, making 2sc in each corner st.
Switch to Love Letter (Red)
Rnd 2: Sc in the first st, *ch1, sk 1 st , sc in the next st*, repeat around. For the corners do 1 sc in each of the 2 sts around each corner, do not ch1 or skp sts.
Switch to Spruce (Green)
Rnd 3: Repeat rnd 2, tie off.
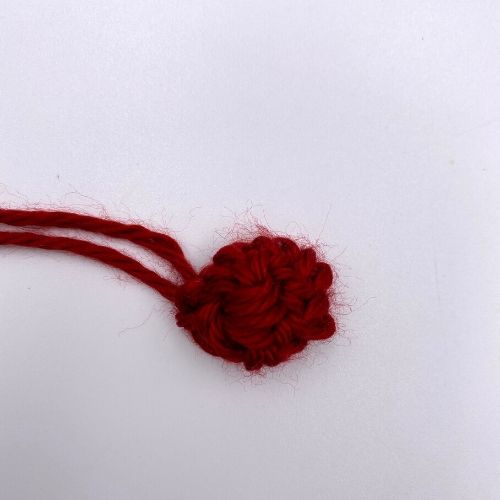
Berries
Using Love Letter (red)
Make 3
Ch 6
Yo, insert hook in the 2nd ch from the hook, *yo, pull up a loop, yo pull through 2 loops, yo, insert hook in next ch*, repeat across the ch until you have 6 loops on the hook, yo, pull through all 6 loops, ch1.
Slst to the last ch, tie off.
Leaves
Using Spruce (Green)
Make 2
Ch 13
Sc in the 2nd ch from hook, sc in the next ch, hdc in the next ch, (dc, picot) in the next ch, hdc in the next ch, sc in the next ch, hdc in the next ch, (dc, picot) in the next ch, hdc, in the next ch, sc in the next 2 chs, (hdc, dc, hdc) in the last ch, rotate to work down the underside of the starting ch, sc in the next 2 chs, hdc in the next ch, (dc, picot) in the next ch, hdc in the next ch, sc in the next ch, hdc in the next ch, (dc, picot) in the next ch, hdc in the next ch, sc in the last 2 chs, slst to the 1st sc, tie off. (25)
ABBREVIATED INSTRUCTIONS FOR LEAVES: Same as above just condensed
ch13
Sc in the 2nd ch from hook, sc, hdc, (dc, picot), hdc, sc, hdc, (dc, picot), hdc, sc, sc, (hdc,dc,hdc) in the last ch, rotate to work down the underside of the starting ch, sc, sc, hdc, (dc, picot), hdc, sc, hdc, (dc, picot), hdc, sc, sc, slst to the 1st sc, tie off. (25)
rotate to work down the underside of the starting ch, sc, sc, hdc, (dc, picot), hdc, sc, hdc, (dc, picot), hdc, sc, sc, slst to the 1st sc, tie off. (25)
Once all pieces are made sew onto the square on the bottom left corner, or where desired.
Weave in all ends, and you’re done!

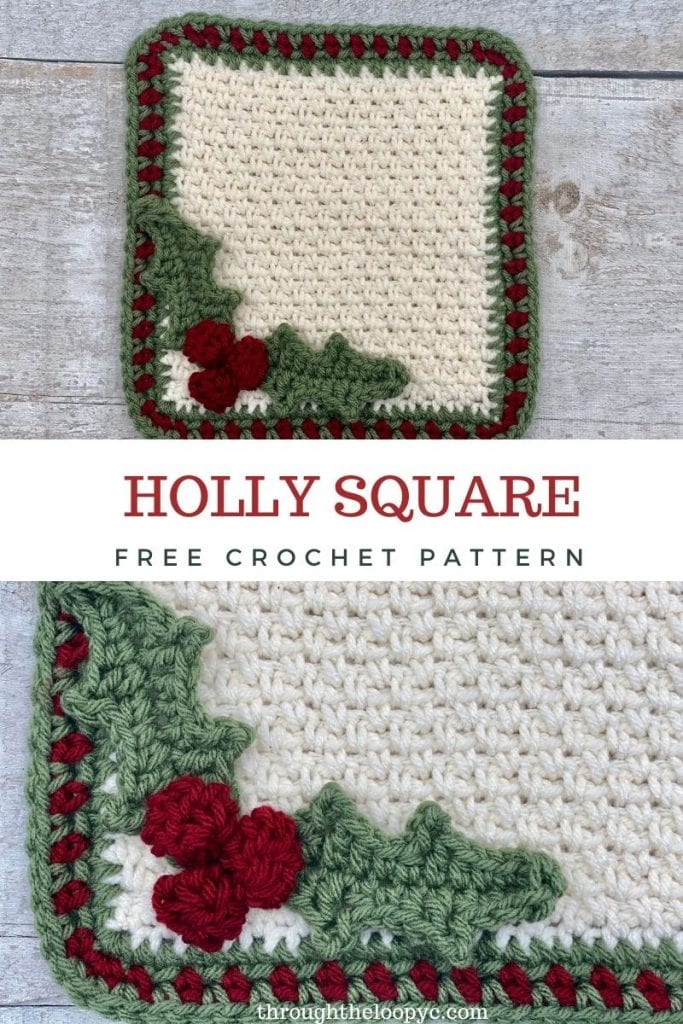
All Set!!!
There you have it! Your very own Holly Square!
Prefer printed copies better?! The ad-free printable premium PDF version with photo stitch tutorial for the Holly is available on Ravelry!
While you’re here why not take a look at my other patterns?!
If you’d like to stay In The Loop with all things Through The Loop Yarn Craft join the Newsletter for a special gift and updates of pattern releases and special offers!
I hope you love your Holly Square!! I would love to see how yours turn out!
Thanks for stopping by!
Please feel free to sell your handmade products created from this original Through The Loop Yarn Craft pattern. I ask that you please give credit to Ashley Edmonds from TTLYC as the designer, when possible, and link back to www.throughtheloopyc.com and/or @throughtheloopyarncraft (on social media) when selling and sharing images online.
©2020 Through The Loop Yarn Craft – Ashley Edmonds This pattern and its associated images are copyright protected. The pattern is for your personal use only. Please do not copy/paste, distribute, or alter and claim as your own.
*Indicates an affiliate link which means I may receive commissions if you choose to purchase through links I provide (at no extra cost to you). Thank you for supporting the work I put into this site!. Read my full disclosure here.


4 Comments
Pingback:
Kathy
Thank you! I love this square. Merry Christmas to you and your family.
Judy Hughes
This is absolutely Beautiful!
Thank You
Leatta
I just love this coaster set and think I will give it a try. TFS