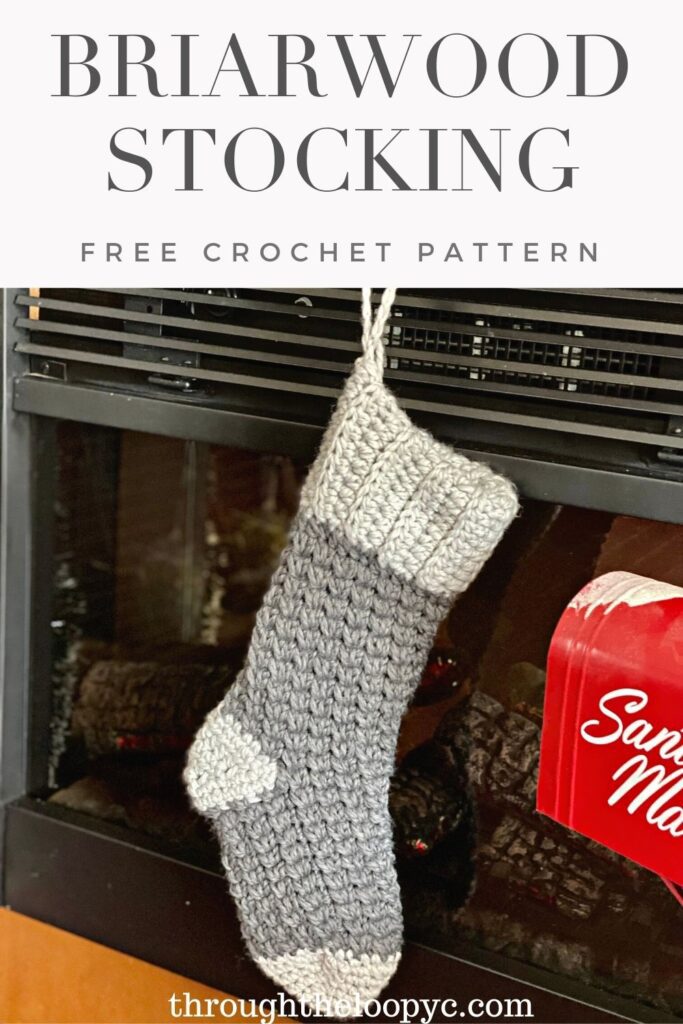
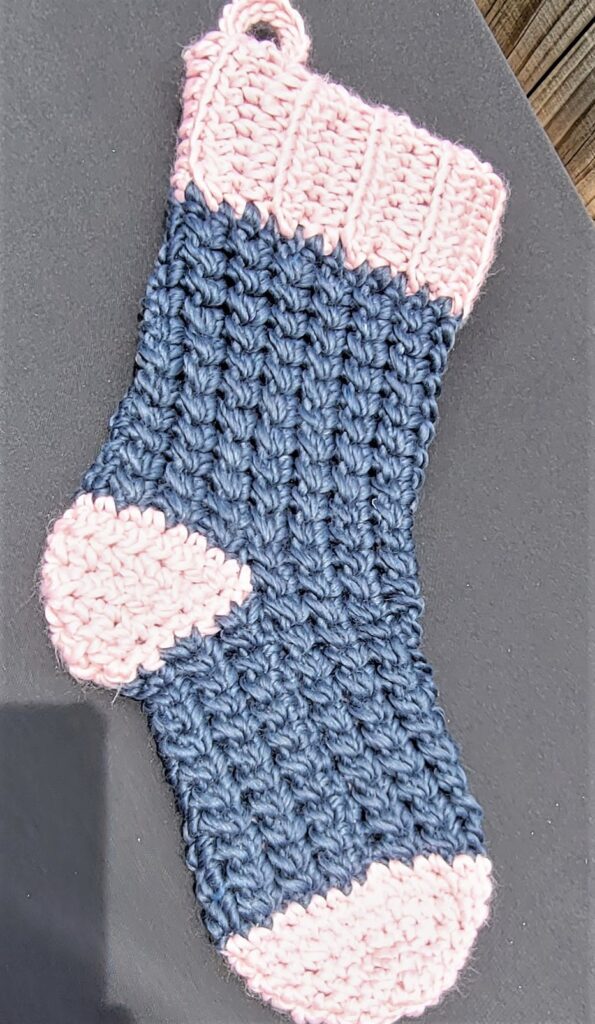
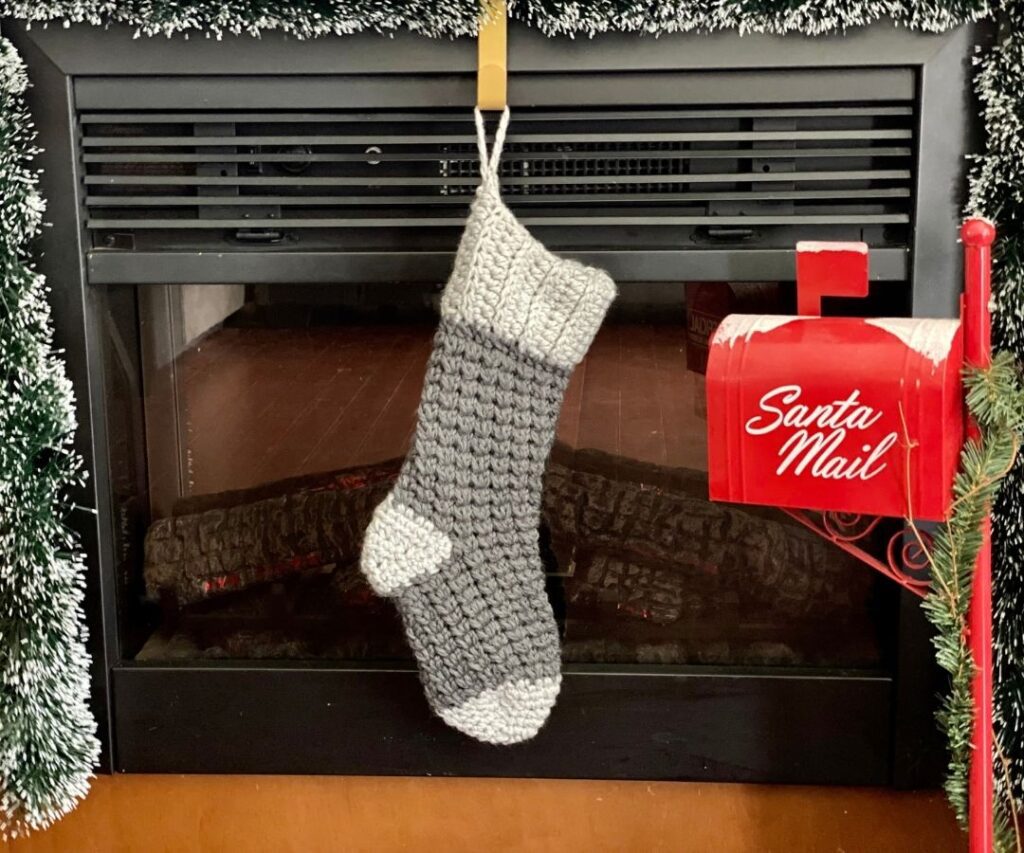
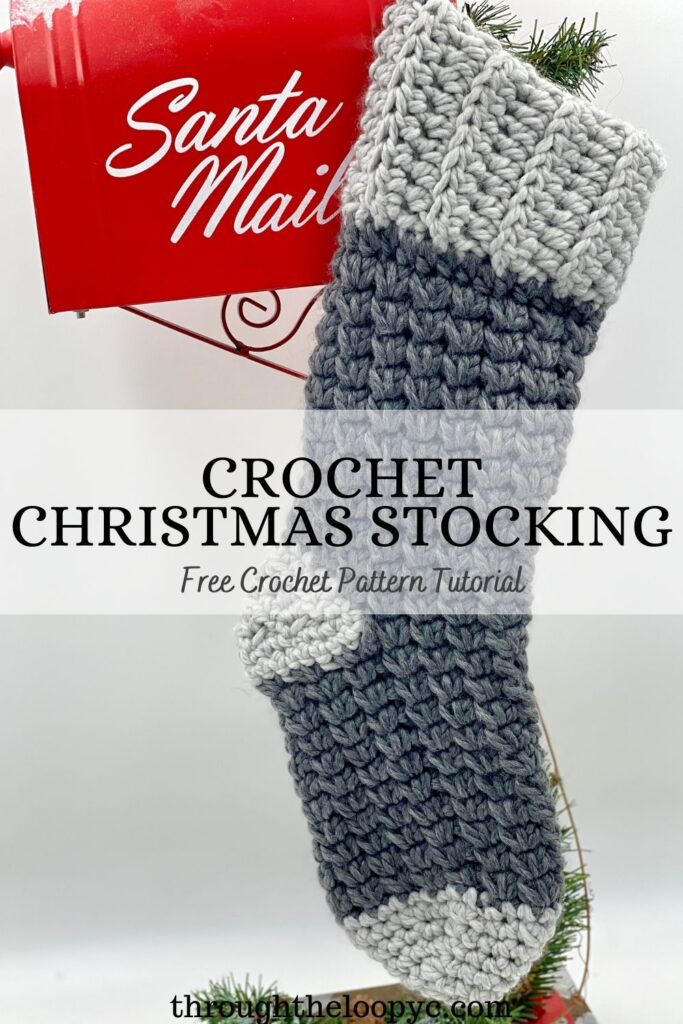
Crochet Christmas Stocking Pattern
This year I will be updating our stockings for the whole family! Since we are a family of 9, I’m getting started early! I came up with a new crochet Christmas stocking pattern that I will be using, so thought I should share the Briarwood Stocking pattern with you too!
Save It To Your Favorites

Crochet Christmas Stocking Ad-Free Premium PDF Printable
Get your copy of the premium ad-free PDF pattern. The Premium version includes photo stitch tutorial.


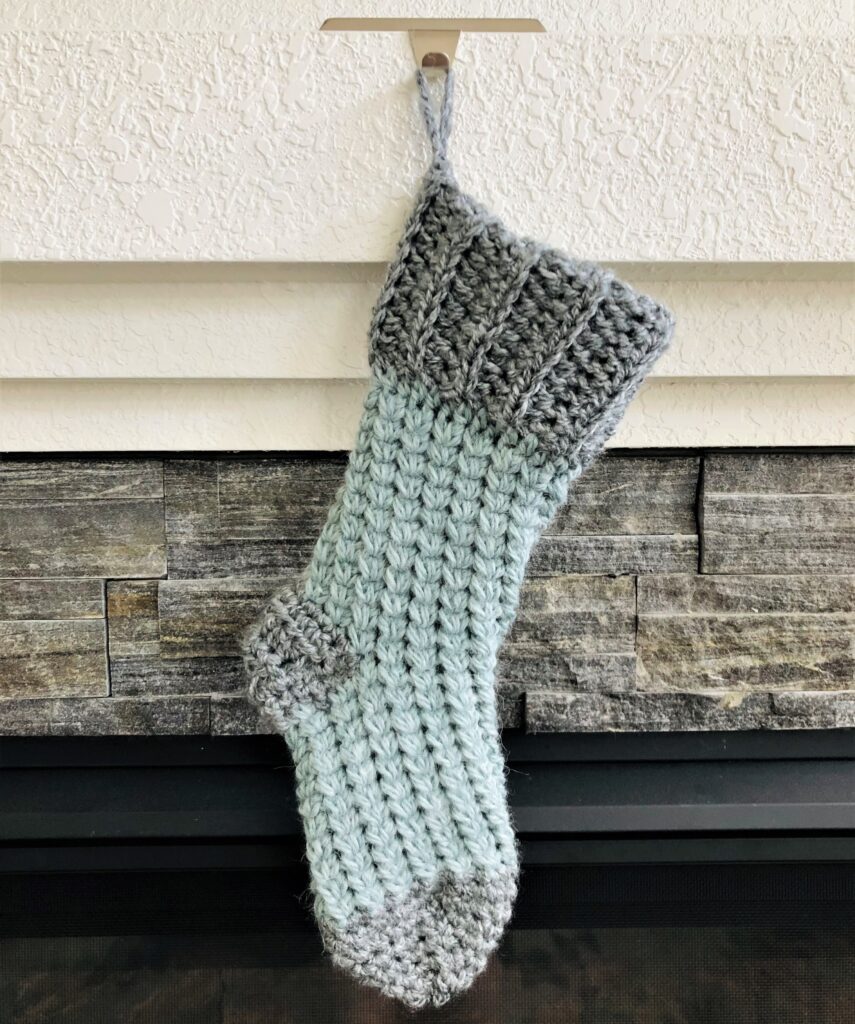
Chunky Crochet Christmas Stocking
The Briarwood Stocking uses the Trinity Stitch for lots of texture and chunky yarn for support as well as keeping it a quick make.
The pattern is worked from the top down starting with the cuff, which is double thick, and working the way down to the toe. You can make the stocking with two colours as my example is or stick to one colour.
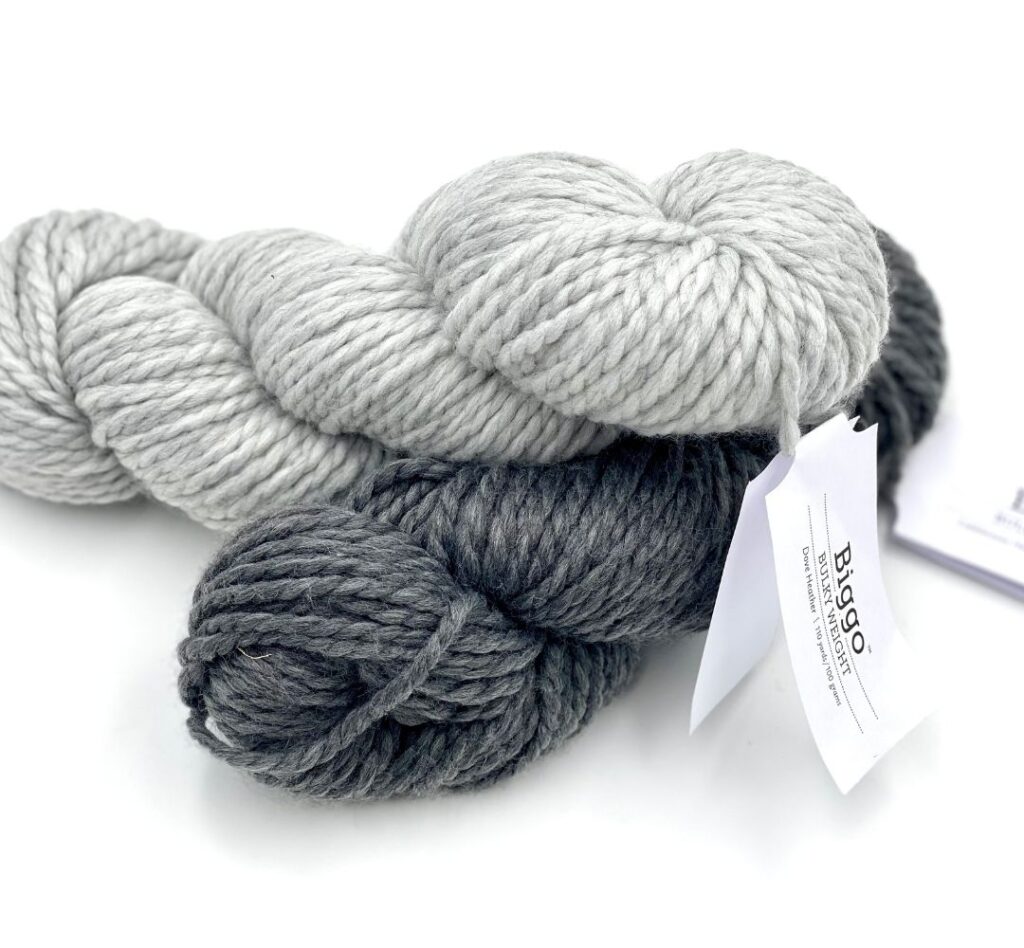
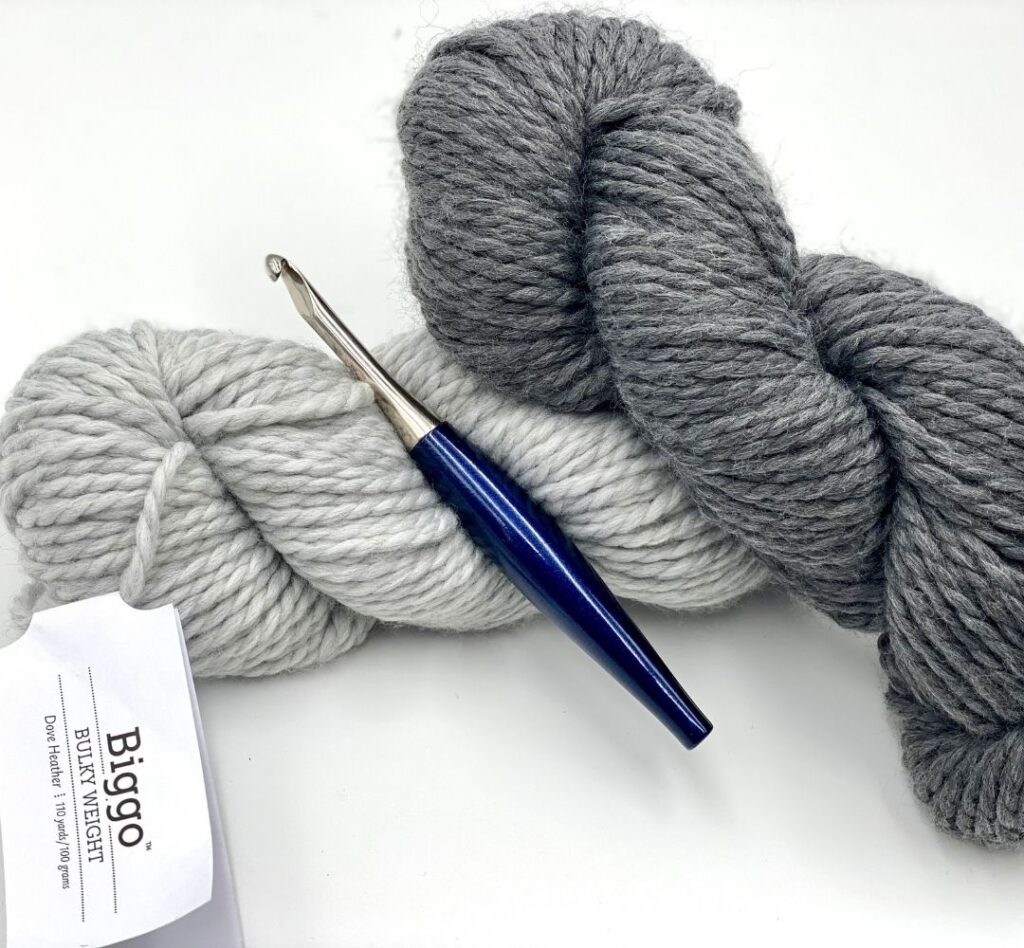
I chose to use *WeCrochet’s *Biggo yarn in Cobblestone Heather and Dove Heather. I love the mix of merino and nylon and the way it’s plyed together for a nice, strong stocking.
If you don’t have Biggo some alternative options you could try are: *Knit Picks Chroma Twist Bulky, *Premier Yarns Serenity Chunky, *Lion Brand Hue + Me, or *Knit Picks Mighty Stitch Bulky
A special thank you to *WeCrochet for providing the yarn for this project.
Crochet Christmas Stocking Pattern Video Tutorial

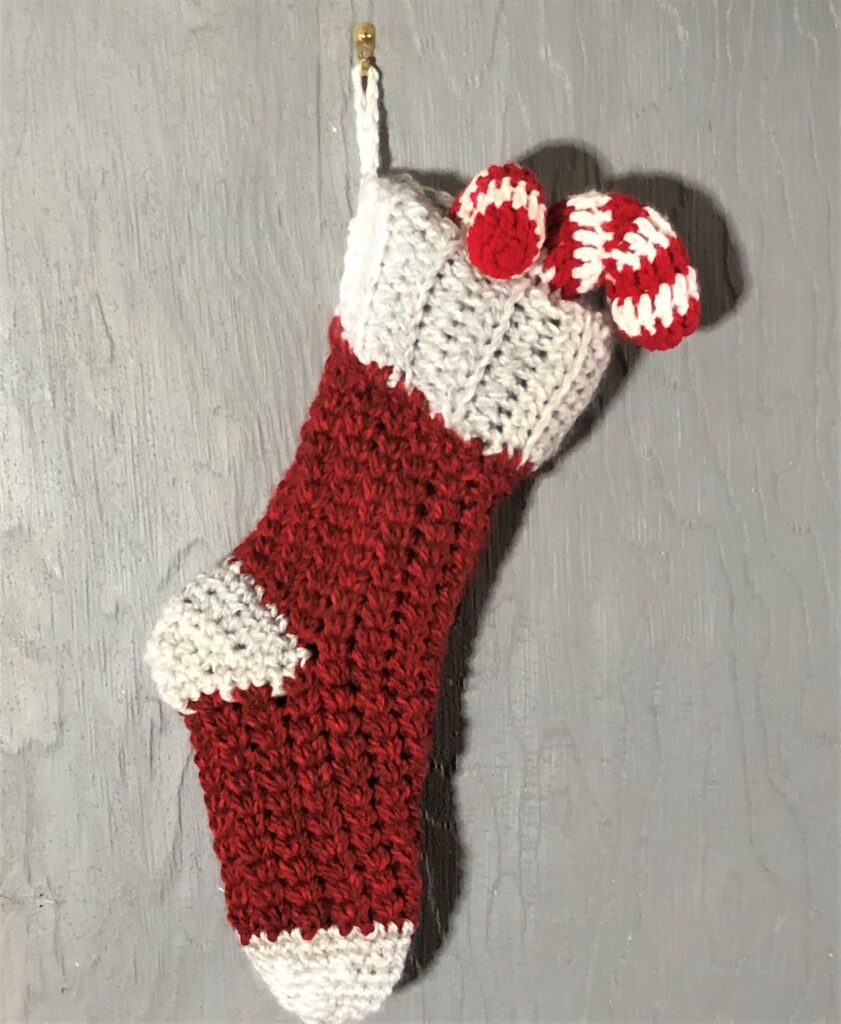
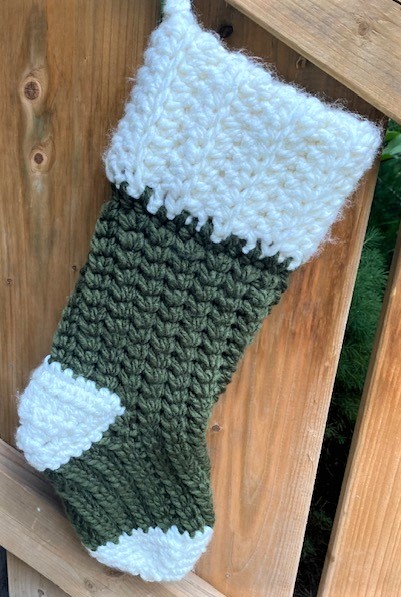
The Tester Pictures
My testers we’re so helpful in getting this pattern just right! They had some amazing results too!
Some of the yarns they used included: Yarn Bee Tender Touch, Yarn Bee Alpaca Twist, Loops & Threads Eco-Cozy, and Loops & Threads Charisma.
Crochet Christmas Stocking Pattern Details
Materials
- Approx. 165 yards of #5 bulky weight yarn. I used *WeCrochet Biggo in Cobblestone Heather and Dove Heather. C1- 72 yards, C2 – 90 yard
- 8.0mm crochet hook. I used my *Furls Odyssey Hook
- *Scissors
- *Yarn needle
- *Tape measure
Difficulty
Intermediate
Gauge
3 TS x 4 rows = 2″ Pattern for gauge: Trinity Stitch
Size
Laid flat: 6″ wide x 17″ long
Stitch Abbreviations
- ch(s) – Chain(s)
- sc – Single Crochet
- hdc – Half Double Crochet
- hdcblo – Half Double Crochet Back Loop Only
- TS – Trinity Stitch
- sc2tog – Single Crochet 2 Together
- sc3tog – Single Crochet 3 Together
- st(s) – Stitch(es)
- Rnd – Round
- C1 – Colour 1
- C2 – Colour 2
Pattern Notes
- US Terminology
- All beginning ch1 do not count as a stitch
- Stocking is worked top down, first in rows then in rnds
- * _* denotes repeat sequence
Special Stitches
Photo tutorial for the special stitch used; Trinity Stitch, is available in the downloadable PDF or the YouTube Tutorial.
Trinty Stitch: Insert hook in indicated st, pull up a loop, insert hook into next st, pull up a loop, insert hook into next st, pull up a loop, yarn over, pull through all 4 loops on hook, ch1. To begin next TS, insert your hook into the same st the previous TS finished in, repeat same steps as first st.
Crochet Christmas Stocking Pattern
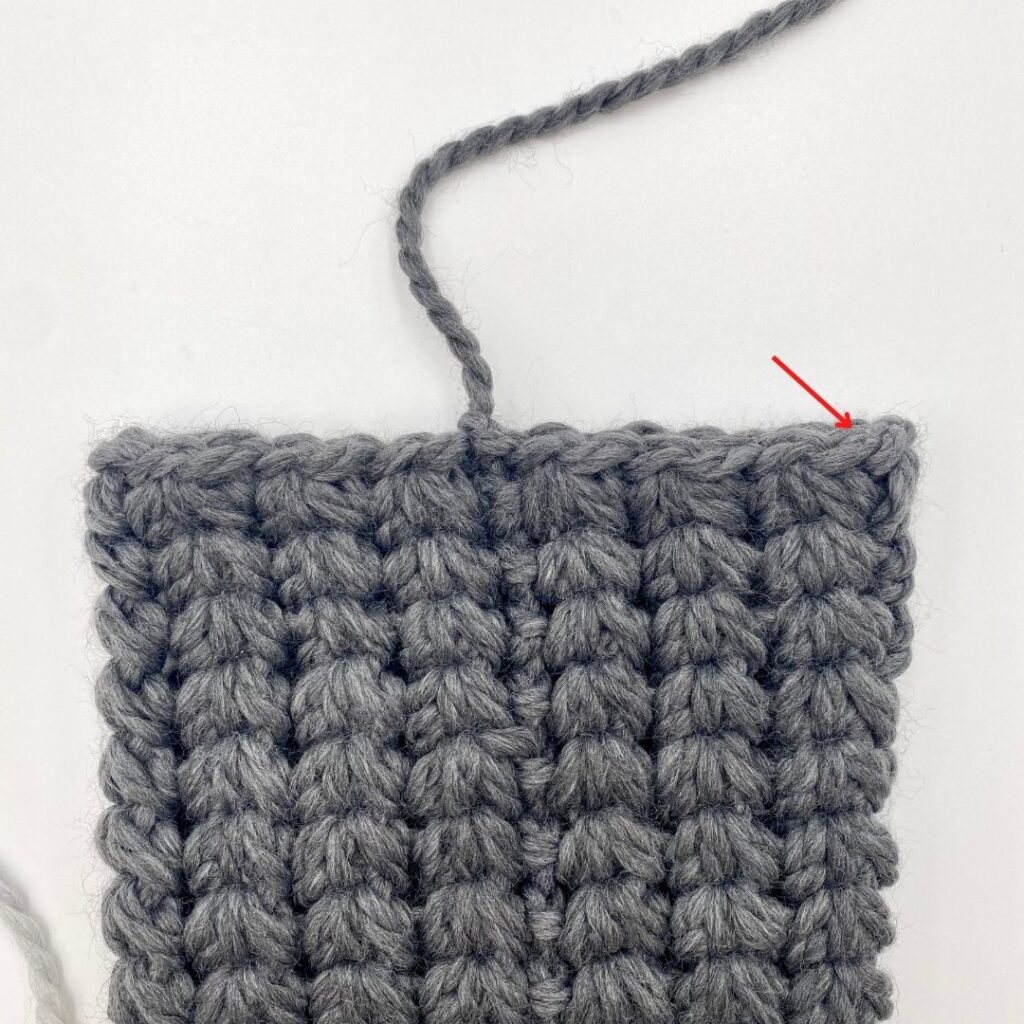
CUFF
With C1
Ch 19
Row 1: Hdc in the second chain from the hook, and each ch across, ch1, turn (18).
Row 2 – 18: Hdcblo in the first st, hdcblo in each st across, ch1, turn (18).
Fold cuff in half lengthwise, then bring ends together and slst the short side together being sure to go through all four layers to form the cuff, tie off.
STOCKING
With C2
Join yarn by the seam of the cuff, the stocking will work in the round, around the bottom of the cuff, the fold will be the top.
Rnd 1: Hdc evenly around the cuff being sure to go through both layers, for a total count of 28 sts, slst to join to the first st, ch1 (28).
Rnd 2: TS around, slst to join to the first st, ch1 (14 TS).
Rnd 3 – 12: Repeat Rnd 2.
After Rnd 12 is complete, tie off C2.
HEEL
With C1
Lay stocking flat in front of you with where you tied off in the center. Count back to your right 3 TS, join yarn to the right of the third TS.
Row 1: Sc in the same st and each st and space for a total of 14 sc (same spots you use for the TS), ch1, turn (14).
Row 2: Sc2tog, hdc in the next 10 sts, sc2tog, ch1, turn (12).
Row 3: Sc2tog, hdc in the next 8 sts, sc2tog, ch1, turn (10).
Row 4: Sc2tog, hdc in the next 6 sts, sc2tog, ch1, turn (8).
Row 5: Sc2tog, hdc in the next 4 sts, sc2tog, ch1, turn (6).
Row 6: Sc2tog, hdc in the next 2 sts, sc2tog, ch1, turn (4).
Row 7: Sc2tog twice (2).
Sc down side one of the heel (7 sts), slst to the base of the stocking, ch1, turn.
Sc back up side one (7 sts), sc across the top (2 sts), sc down side 2 (7 sts), slst to base, tie off.
STOCKING CONTINUED
With C2
Join yarn at corner base where heel meets.
Rnd 13: TS in the next 7 TS from the previous row, TS using the same st just used, the next space, and the first st of the heel, (sc3tog, ch1), five times around the heel, sc3tog using the next 2 sts and the base of the heel, ch1, slst to join to the first st, ch1 (8 TS, 6 sc3tog).
Rnd 14 – 23: TS around, slst to join to the first st, ch1 (14 TS).
After Rnd 23 is complete, tie off C2.
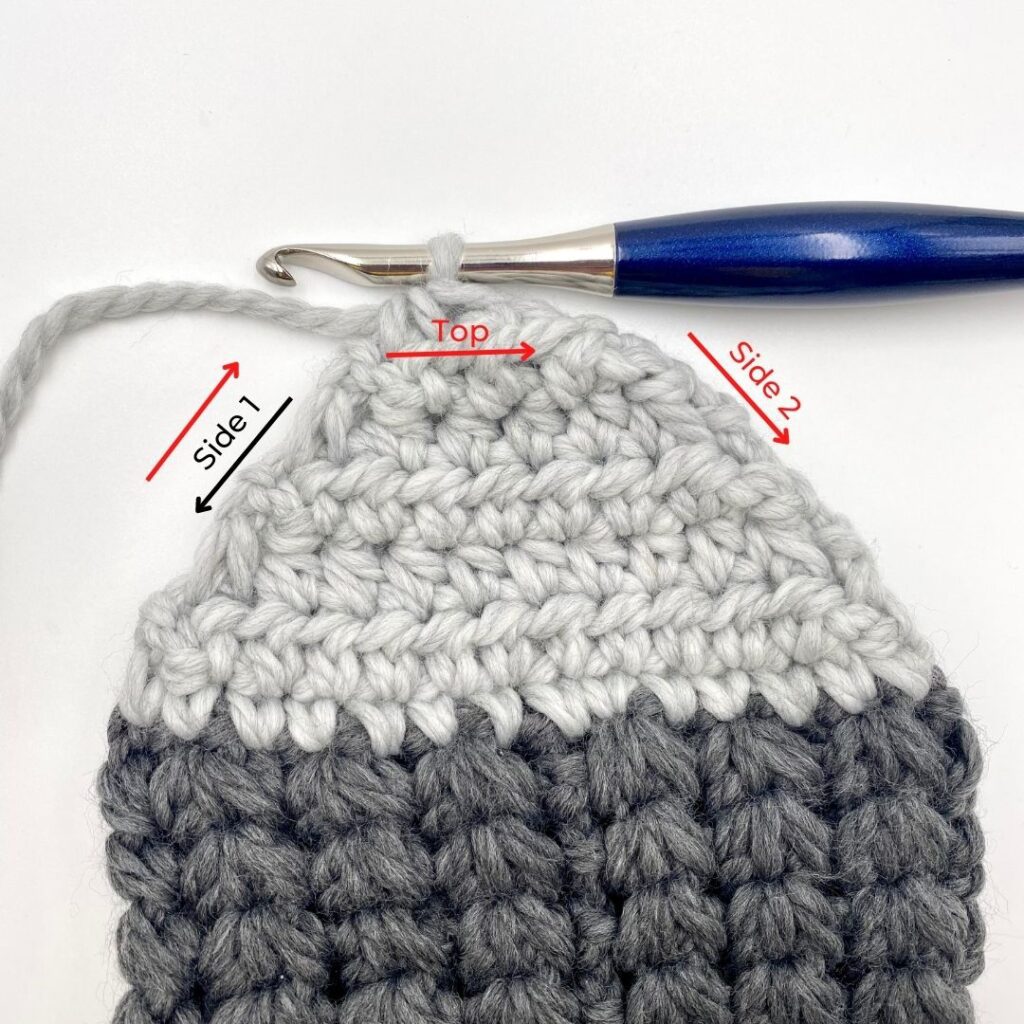
TOE
With C1
Rnd 24: Sc in the first space, sc in the TS, sc in the next space, *sc in the TS, sc in the next space* repeat around, slst to join to the first st, ch1 (28).
Rnd 25: Sc in the first st, sc in each st around, slst to join to the first st, ch1 (28).
Rnd 26: Sc in the first st, sc in the next st, sc2tog, *sc in the next 2 sts, sc2tog* repeat around, slst to join to the first st, ch1 (21).
Rnd 27: Sc in the first st, sc in the next 4 sts, sc2tog, *sc in the next 5 sts, sc2tog* repeat around, slst to join to the first st, ch1 (18).
Rnd 28: Sc in the first st, sc in the next 3 sts, sc2tog, *sc in the next 4 sts, sc2tog* repeat around, slst to join to the first st, ch1 (15).
Rnd 29: Sc in the first st, sc in the next 2 sts, sc2tog, *sc in the next 3 sts, sc2tog* repeat around, slst to join to the first st, ch1 (12).
Rnd 30: Sc in the first st, sc2tog, *sc in the next st, sc2tog* repeat around, slst to join to the first st, tie off leaving long tail to weave closed (8).
Use long tail to weave through toe opening to close, weave in end.
HANGING LOOP
With C1
Join yarn, or use previous tail at the center top back of the cuff, ch12, slst to where you joined, tie off
Weave in all ends, and you’re done!
All Set!!!
There you have it! Your very own Briarwood Christmas Stocking!
Prefer printed copies better?! The ad-free printable premium PDF version with stitch tutorial is available on Etsy or Ravelry!
While you’re here why not take a look at my other patterns?!
If you’d like to stay In The Loop with all things Through The Loop Yarn Craft join the Newsletter for a special gift and updates of pattern releases and special offers!
I hope you love your stocking!! I would love to see how yours turn out!
Thanks for stopping by!

Please feel free to sell your handmade products created from this original Through The Loop Yarn Craft pattern. I ask that you please give credit to Ashley Edmonds from TTLYC as the designer, when possible, and link back to www.throughtheloopyc.com and/or @throughtheloopyarncraft (on social media) when selling and sharing images online.
©2022 Through The Loop Yarn Craft – Ashley Edmonds This pattern and its associated images are copyright protected. The pattern is for your personal use only. Please do not copy/paste, distribute, or alter and claim as your own.
*Indicates an affiliate link which means I may receive commissions if you choose to purchase through links I provide (at no extra cost to you). Thank you for supporting the work I put into this site!. Read my full disclosure here.


You May Also Like

Dad’s Soap On A Rope – Free Pattern

Crochet Yoga Socks Pattern